5 tricks to create a good profile that only the best will know:
A profile is one of the main concepts to know and master when talking about colour management. If you want to print accurate colours and get the most out of your colour output devices, you need to know the steps to get the best possible profile.
To start talking about profiles, we need to have the concept clear. So let’s go with a definition:
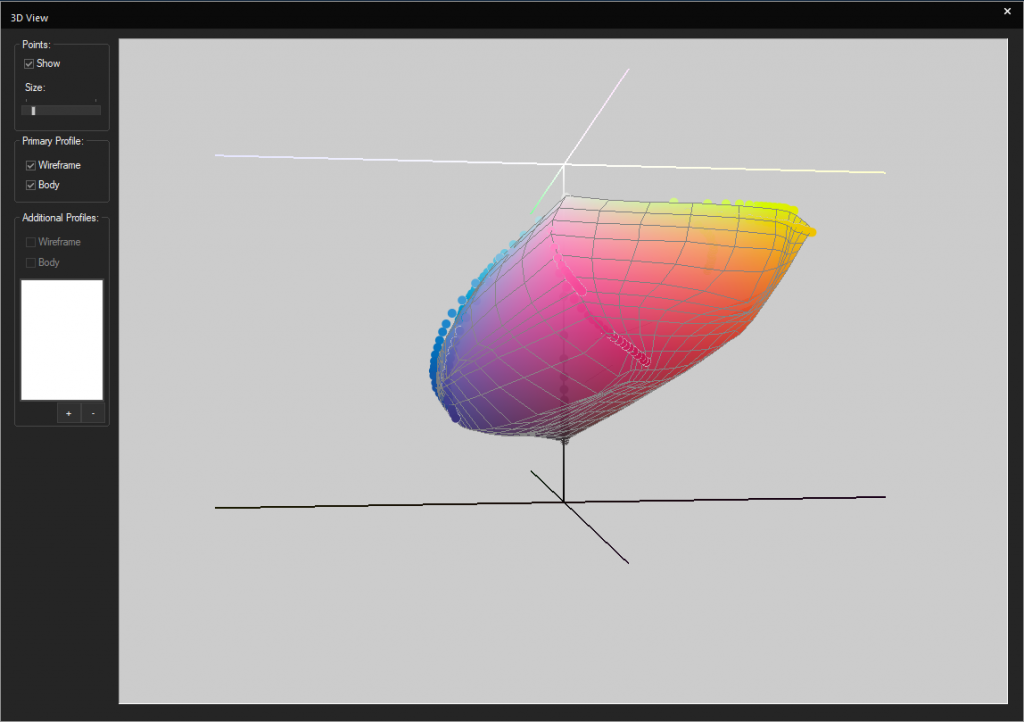
A profile is a file that contains the colour information that can be interpreted by a device, either input (like a scanner or digital camera) or output (like a printer or screen).
It is necessary to have two profiles: a standard one and the printer itself since the final profile will be created from a mathematical relation between the standard colour space (the input one) and the capacity of the device to interpret it.
In this article, we will focus on the creation of profiles for digital printers.
Introduction to the creation of profiles:
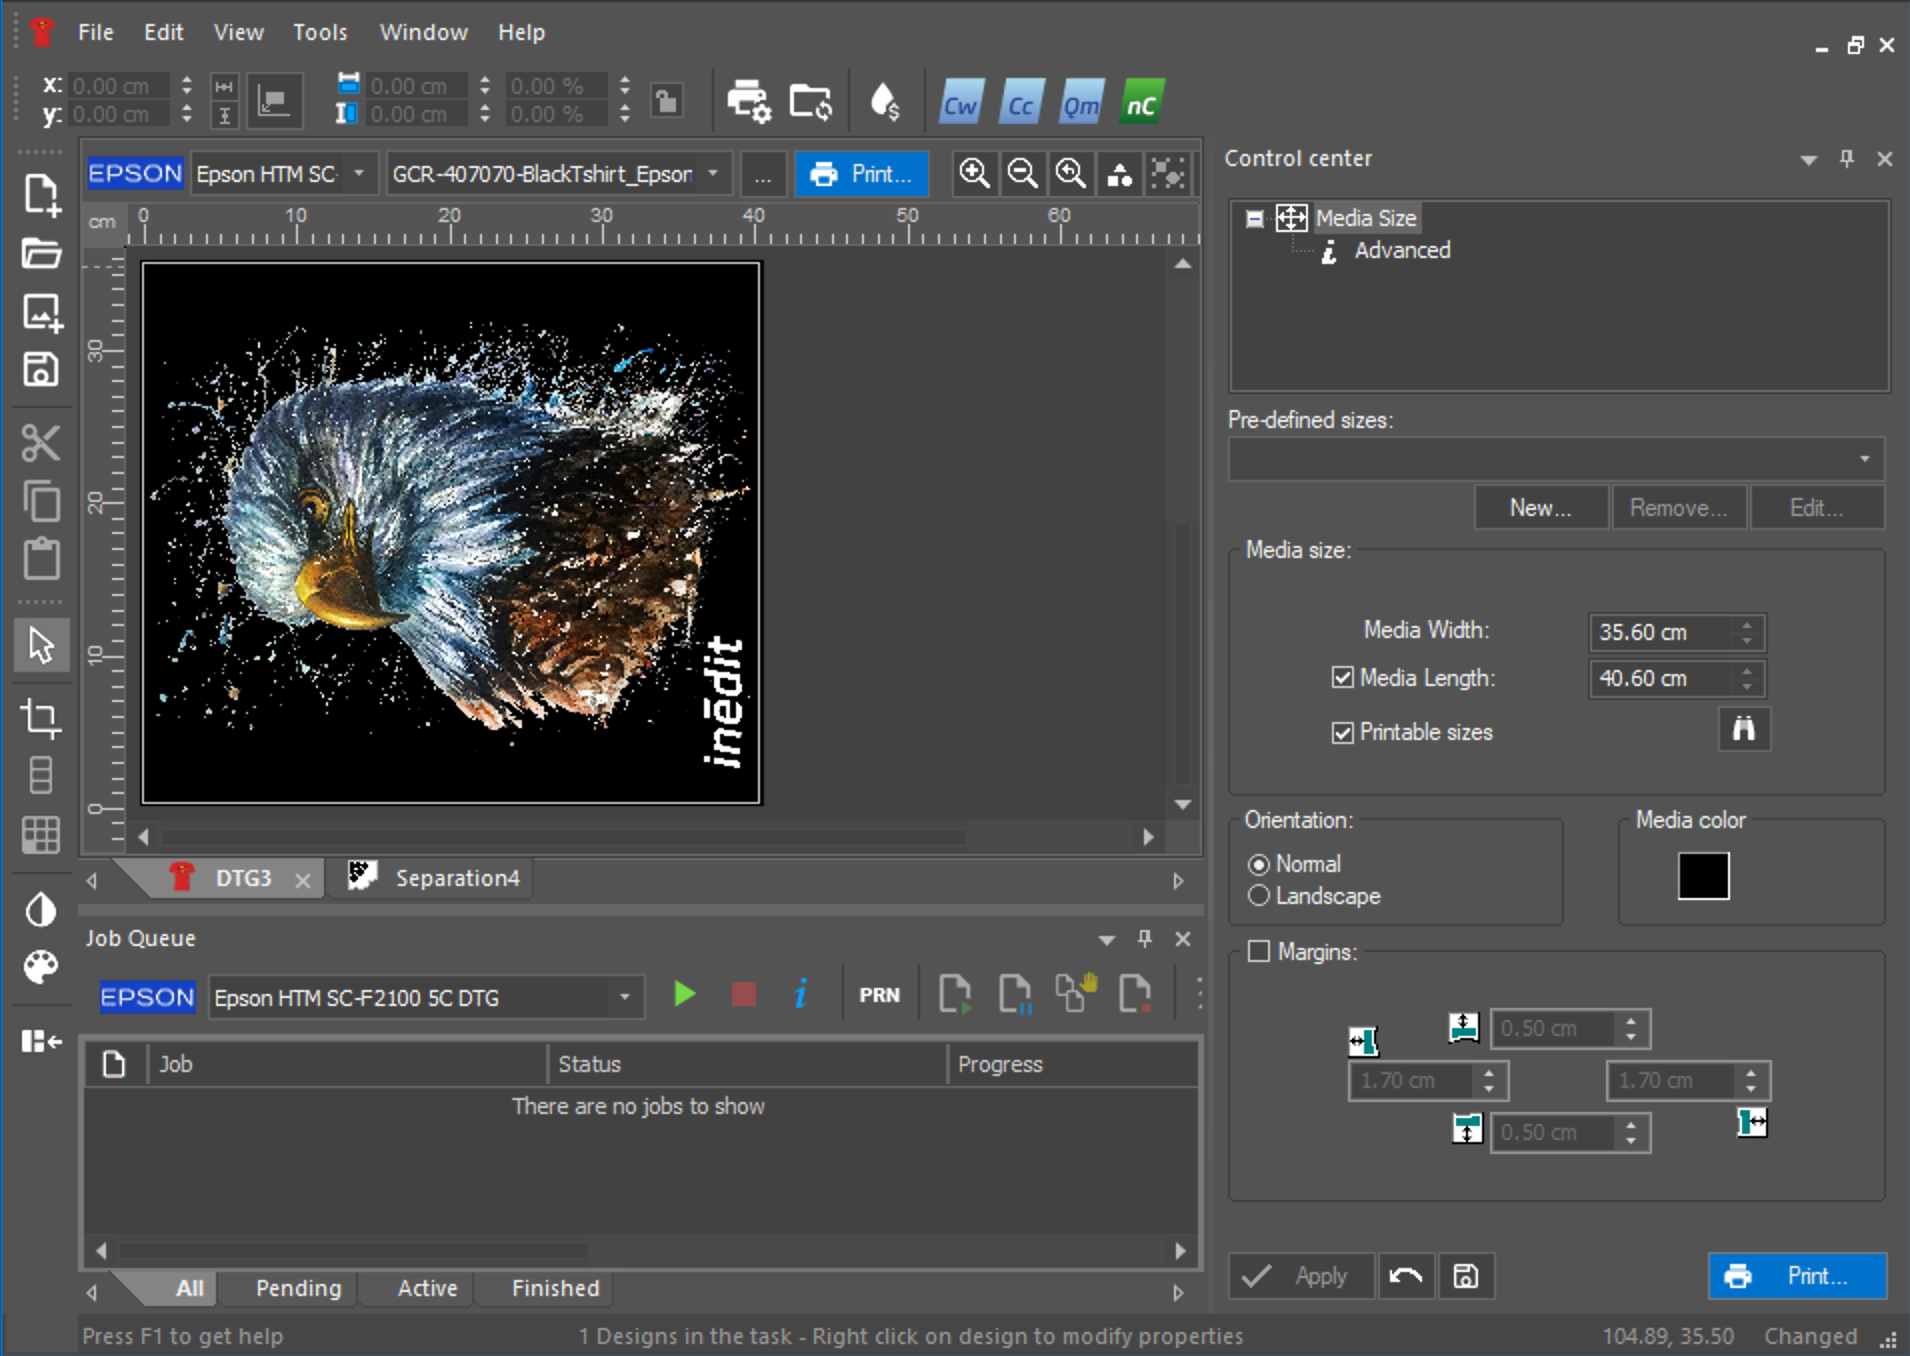
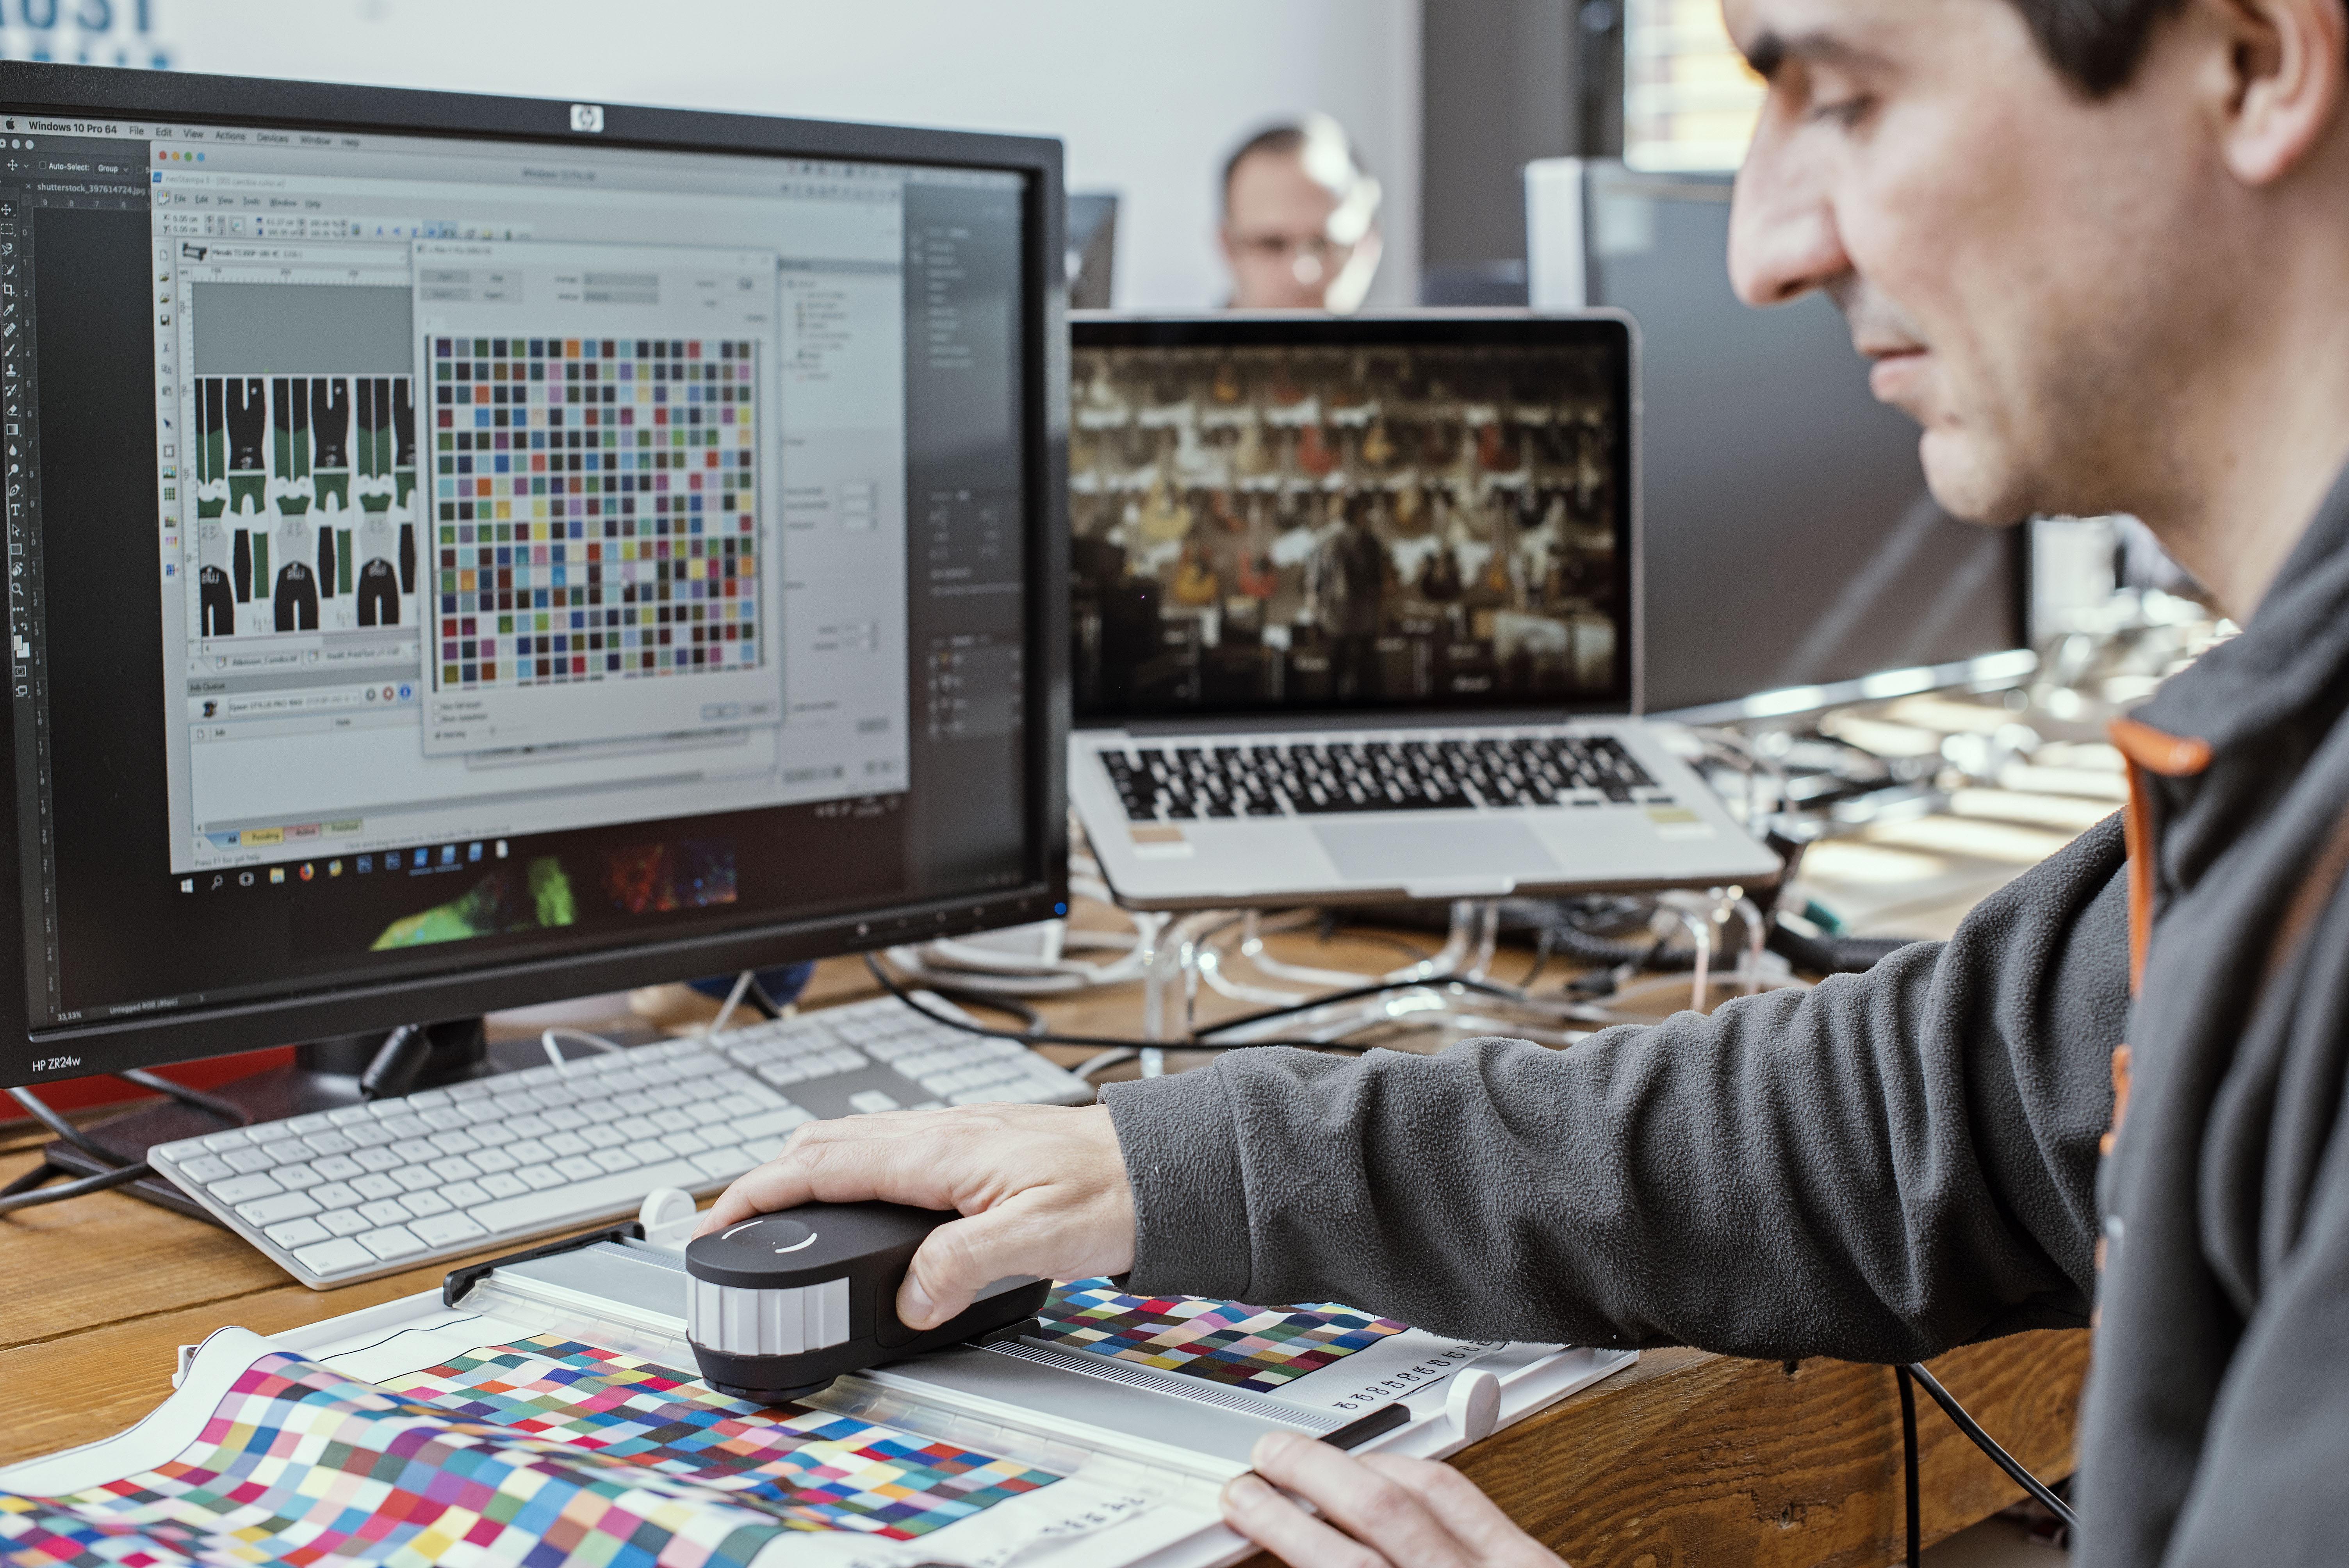
To create a profile you will need to have some tools with you: a good Rip Software to help you interpret the capacity of your printer, a colour measurement device (spectrophotometer), the output device (The digital printer in this case), and other material needed (For example paper, fabric, plate, etc.)
In addition, we need to know which media you are going to use. If you are going to print on paper, the calibration and the consequent creation of the profile will be much easier, since only one material is involved in the process.
If, on the other hand, we want to create a dye-sublimation profile, we have to take into account the tools that come into play: the plate, the fabric, the dye-sublimation paper, etc. so it is more complicated to create a stable profile.
5 tips to create the best profiles:
Now that we understand the concept of a print profile, we would like to share 5 tips that our technicians apply in order to obtain the best results:
1.Create the profile using the final production conditions: It is important to understand that the process of creating a new profile aims to obtain the best colour results in the final productions. For this reason, it is necessary to reproduce the same printing conditions that we will use at the moment of truth. We do not recommend using cheaper paper or fabrics for calibration or using an iron instead of a calendar. With this, we only will obtain non-expected results.
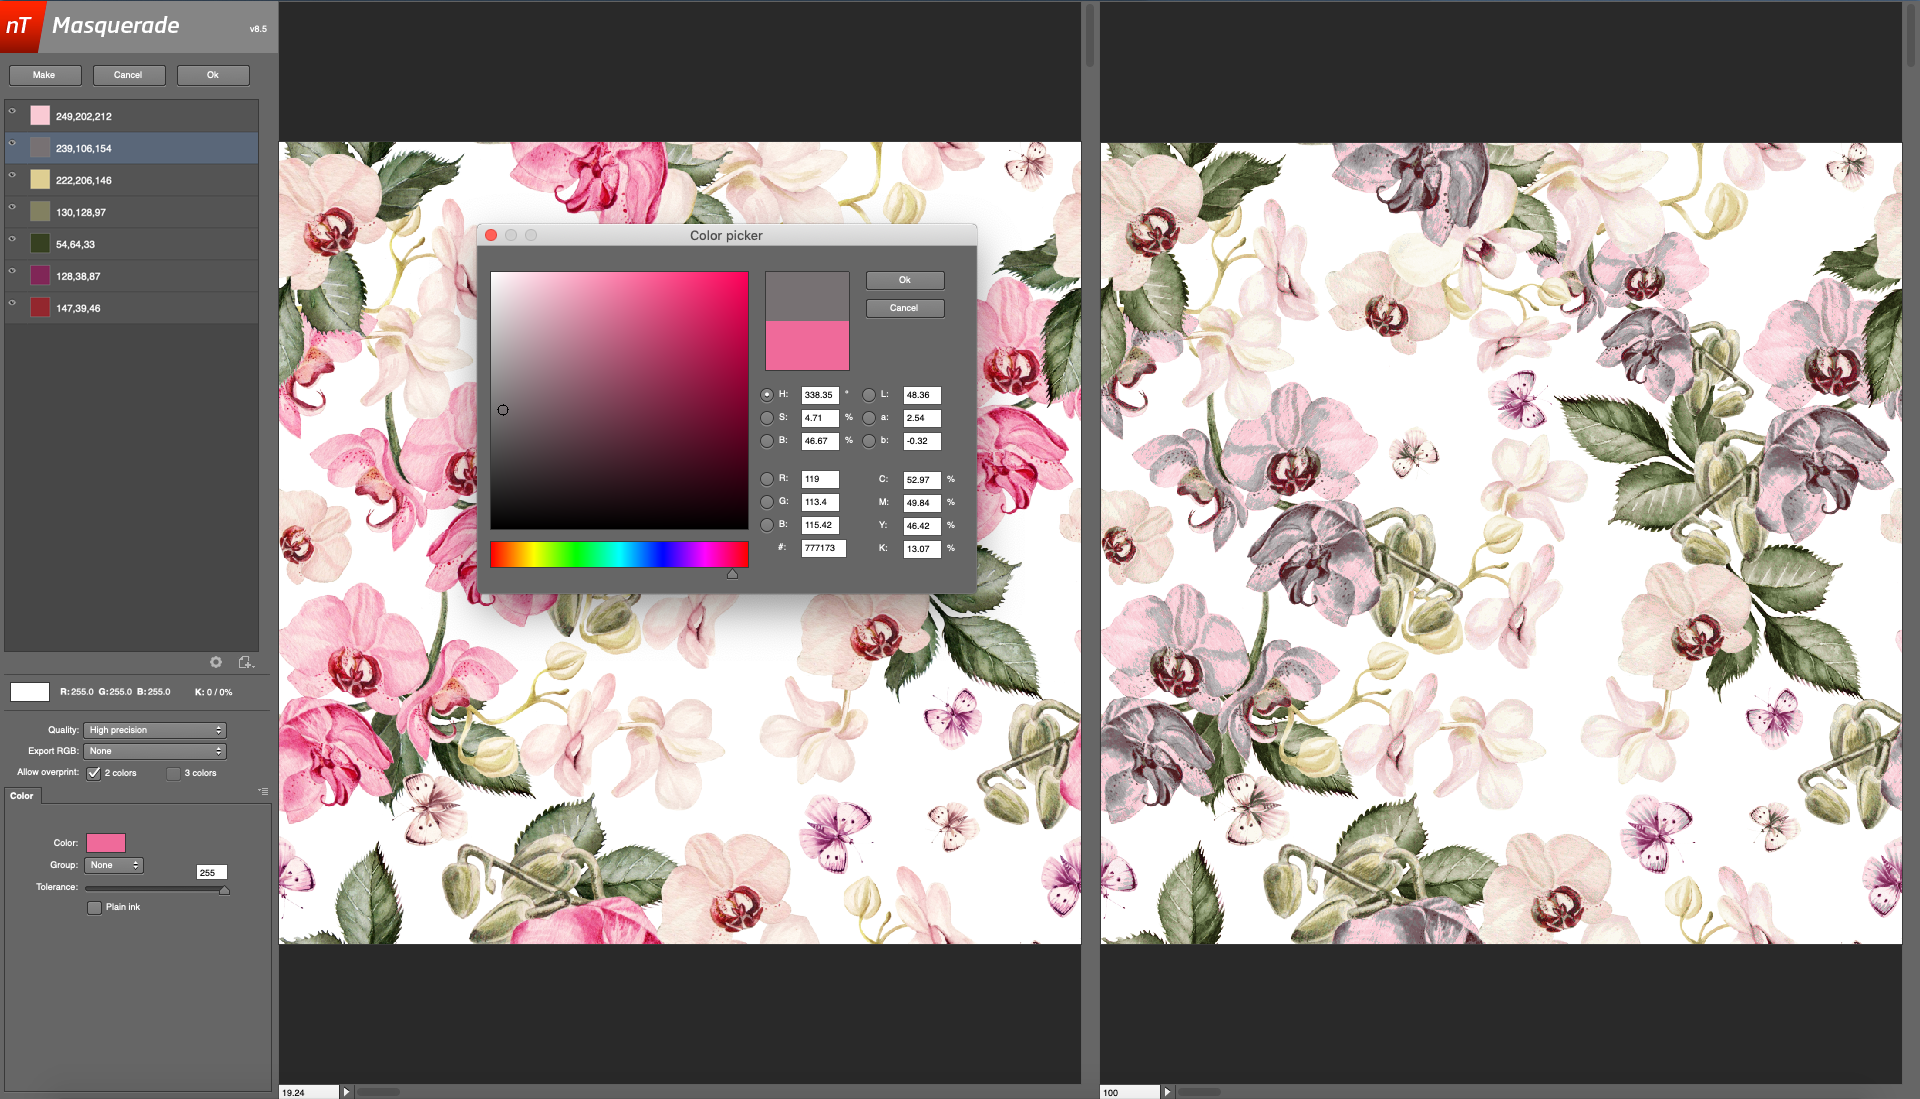
2. Work with Rip Software that facilitates the creation of the profile: It is very important to work with software that can understand the colour interpretation capacity of your printer, but it is also very necessary that the Rip Software facilitates the process of creating your profile. To do this, we recommend, first of all, that the Rip has a calibration wizard that guides you through this process step by step.
3. Read, read and read: If you have ever worked with us or attended one of our courses you will know that there is a motto that we do always repeat: Read with the spectrophotometer three times. This way you will get three different colour results, which you can compare and get an average of the colour that will be the closest to the printing possibilities of your machine.
4. Keep the printing devices in good condition: Check that at the time of creating the profile all the equipment involved in printing is in good condition and correctly configured.
5. Profile and re-profile: We also recommend checking the printing results periodically and, if necessary, re-creating the profile. In neoStampa we have the option of re-profiling, which will allow you to analyse what has changed in your printer in order to adjust the profile again.
We hope you have enjoyed our post and remember that if you have any doubts, you can contact us directly by writing to sales@inedit.com